Reveal SDK for Angular で作業を開始
手順 1 - Angular アプリの作成
1 - お気に入りのターミナルを開きます。
2 - アプリケーションを作成します。
ng new getting-started
3 - ディレクトリを新しく作成した app ディレクトリに移動し、お気に入りのエディターでプロジェクトを開きます。この例では、Visual Studio Code を使用しています。
cd getting-started
code .
手順 2 - Reveal JavaScript API の追加
1 - index.html ファイルを開いて変更し、ページの下部に (</body> 終了タグの直前) infragistics.reveal.js スクリプトを含めます。
<script src="https://dl.revealbi.io/reveal/libs/1.8.4/infragistics.reveal.js"></script>
2 - 残りの Reveal JavaScript API 依存関係をインストールします。
- Jquery 2.2 またはそれ以降
<script src="https://cdn.jsdelivr.net/npm/jquery@3.6.0/dist/jquery.min.js"></script>
- Day.js 1.8.15 またはそれ以降
<script src="https://unpkg.com/dayjs@1.8.21/dayjs.min.js"></script>
最終の index.html ファイルは以下のようになります。
<!doctype html>
<html lang="en">
<head>
  <meta charset="utf-8">
  <title>GettingStarted</title>
  <base href="/">
  <meta name="viewport" content="width=device-width, initial-scale=1">
  <link rel="icon" type="image/x-icon" href="favicon.ico">
</head>
<body>
  <app-root></app-root>

  <script src="https://cdn.jsdelivr.net/npm/jquery@3.6.0/dist/jquery.min.js"></script>
  <script src="https://unpkg.com/dayjs@1.8.21/dayjs.min.js"></script>
  <script src="https://dl.revealbi.io/reveal/libs/1.8.4/infragistics.reveal.js"></script>
</body>
</html>
手順 3 - Reveal ビューの初期化
1 - src/app/app.component.html ファイルを開いて変更します。ファイルのすべての内��容を削除し、新しい <div> タグを追加して、参照を revealView に設定します。
<div #revealView style="height: 100vh; width: 100%; position:relative;"></div>
2 - src/app/app.component.ts ファイルを開いて変更します。最初に、import ステートメントの下のファイルの先頭で、タイプ any の $ という名前の新しい変数を宣言することによって、jQuery を使用できることを確認する必要があります。これにより、TypeScript が JavaScript をコンパイルします。
declare let $: any;
次に、HTML で ViewChild として定義した revalView にアクセスします。この参照を保持するプロパティを追加します。
export class AppComponent {

  @ViewChild('revealView') el!: ElementRef;

}
コンポーネントに AfterViewInit インターフェイスを実装する必要があります。
export class AppComponent implements AfterViewInit {

  @ViewChild('revealView') el!: ElementRef;

  ngAfterViewInit(): void {

  }

}
それが完了したら、RevealView を初期化できます。
export class AppComponent implements AfterViewInit {

  @ViewChild('revealView') el!: ElementRef;

  ngAfterViewInit(): void {
    var revealView = new $.ig.RevealView(this.el.nativeElement);
  }

}
次に、新しい $.ig.RevealView を作成し、ViewChild プロパティに保存されている revealView 要素を渡すことで、RevealView の新しいインスタンスを作成します。
最終の app.component.ts ファイルは以下のようになります。
import { AfterViewInit, Component, ElementRef, ViewChild } from '@angular/core';

declare let $: any;

@Component({
  selector: 'app-root',
  templateUrl: './app.component.html',
  styleUrls: ['./app.component.scss']
})
export class AppComponent implements AfterViewInit {

  @ViewChild('revealView') el!: ElementRef;

  ngAfterViewInit(): void {
    var revealView = new $.ig.RevealView(this.el.nativeElement);
  }

}
クライアント アプリは、クライアントが別の URL でホストしている場合、$.ig.RevealSdkSettings.setBaseUrl("url-to-server"); をダッシュボードをホストしているサーバー アドレスに設定する必要があります。
手順 4 - アプリケーションの実行
Visual Studio Code ターミナルで、npm start コマンドを入力します。
- npm
- Yarn
- pnpm
- Bun
npm start
yarn start
pnpm start
bun start
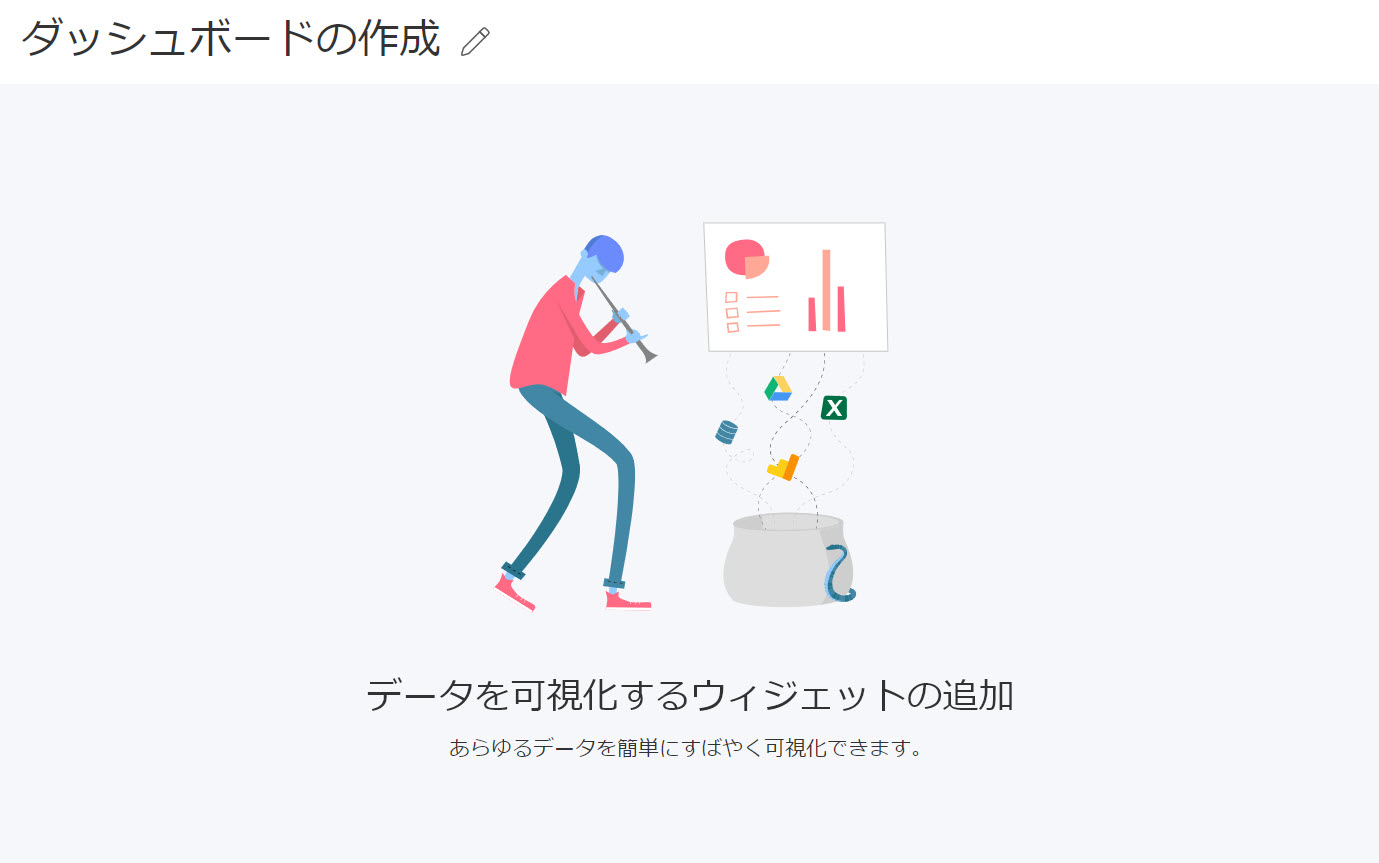
完了しました! 最初の Reveal SDK Angular アプリケーションを作成しました。
このサンプルのソース コードは GitHub にあります。