Adding a JSON Data Source
Currently, the Reveal SDK is in the process of decoupling the data sources from the Reveal SDK core package. In order to ensure the project's continued functionality, you might be required to install additional packages into your project. Please see the Supported Data Sources topic for more information.
Step 1 - Add an event handler for the RevealView.onDataSourcesRequested event.
var revealView = new $.ig.RevealView("#revealView");
revealView.onDataSourcesRequested = (callback) => {
    //add code here
    callback(new $.ig.RevealDataSources([], [], false));
};
Step 2 - In the RevealView.onDataSourcesRequested event handler, create a new instance of the RVWebResourceDataSource object. Set the URL property to the url of the CSV resource, and set the useAnonymousAuthentication property to false if there is no authentication required to access the CSV resource. Optionally, you can add the RVWebResourceDataSource object to the data source collection of the callback to display it in the RevealView's Data Source Dialog.
revealView.onDataSourcesRequested = (callback) => {
    const webDS = new $.ig.RVWebResourceDataSource();
    webDS.title = "Web Data Source";
    webDS.subtitle = "Web Data Source Subtitle";
    webDS.url = "https://excel2json.io/api/share/6e0f06b3-72d3-4fec-7984-08da43f56bb9";
    webDS.useAnonymousAuthentication = true;

    callback(new $.ig.RevealDataSources([webDS], [], false));
};
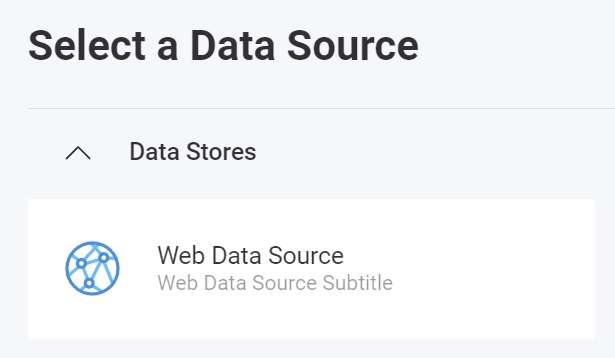
When the application runs, create a new Visualization and you will see the newly created Web Resource data source listed in the "Select a Data Source" dialog.
Step 3 - To bypass the Set up your JSON screen of the data source dialog and use the JSON data directly, create a new instance of the RVWebResourceDataSourceItem, and pass the RVWebResourceDataSource object created in the previous step as a constructor argument. Next, create a new instance of the RVJsonDataSourceItem and pass the RVWebResourceDataSourceItem as the contructor argument. Set the Title and Subtitle properties. Finally, you MUST set the Config property to a JSON string that represents the structure of the data. To make this process easier, you can use the RVJsonSchemaConfigBuilder class to help build the JSON structure using a fluent API.
After you have created the RVJsonDataSourceItem object, add it to the data source items collection.
revealView.onDataSourcesRequested = (callback) => {
    const webDS = new $.ig.RVWebResourceDataSource();
    webDS.title = "Web Data Source";
    webDS.subtitle = "Web Data Source Subtitle";
    webDS.url = "https://raw.githubusercontent.com/fivethirtyeight/data/master/airline-safety/airline-safety.csv";
    webDS.useAnonymousAuthentication = true;

    //to skip the "Set up your JSON" dialog and directly use the JSON data
    const webDSI = new $.ig.RVWebResourceDataSourceItem(webDS);
    const jsonDSI = new $.ig.RVJsonDataSourceItem(webDSI);
    jsonDSI.title = "Sales by Category";
    jsonDSI.subtitle = "Excel2Json";
    jsonDSI.config = new $.ig.RVJsonSchemaConfigBuilder()
        .addNumericField("CategoryID")
        .addStringField("CategoryName")
        .addStringField("ProductName")
        .addNumericField("ProductSales")
        .build();

    callback(new $.ig.RevealDataSources([webDS], [jsonDSI], false));
};
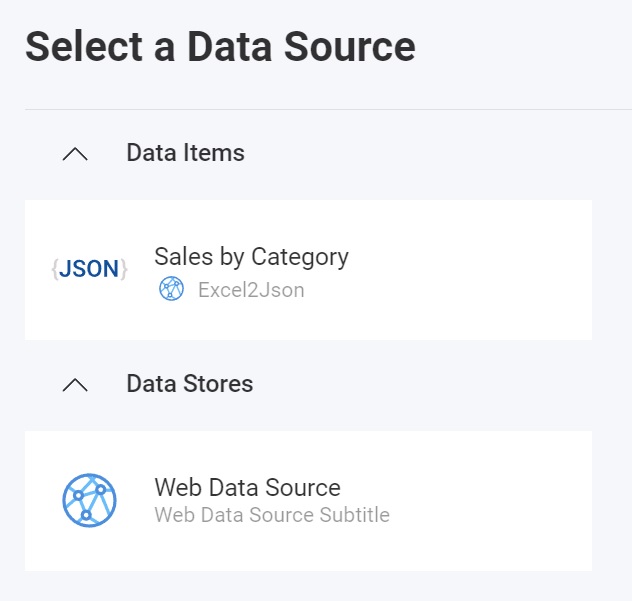
When the application runs, create a new Visualization and you will see the newly created JSON data source item listed in the "Select a Data Source" dialog.
Working with nested properties
In JSON, data is organized hierarchically, often featuring nested structures where objects contain other objects or arrays. To navigate these structures programmatically, you can specify nested properties, which are essentially a sequence of keys or indices that lead to the desired data.
const jsonDsItem = new $.ig.RVJsonDataSourceItem(dsItem);
jsonDsItem.config = new RevealApi.RVJsonSchemaConfigBuilder()
        .addStringField("fieldA")
        .addNumericField("fieldB")
        .addNumericField("/geo/location/lat")
        .addNumericField("/geo/location/lng")
        .setIterationDepth(0)
        .build();
The source code to this sample can be found on GitHub