Adding a CSV Data Source
Currently, the Reveal SDK is in the process of decoupling the data sources from the Reveal SDK core package. In order to ensure the project's continued functionality, you might be required to install additional packages into your project. Please see the Supported Data Sources topic for more information.
Step 1 - Add an event handler for the RevealView.onDataSourcesRequested event.
const revealView = new RevealView("#revealView");
revealView.onDataSourcesRequested = (callback) => {
    //add code here
    callback(new RevealDataSources([], [], false));
};
Step 2 - In the RevealView.onDataSourcesRequested event handler, create a new instance of the RVWebResourceDataSource object. Set the URL property to the url of the CSV resource, and set the useAnonymousAuthentication property to false if there is no authentication required to access the CSV resource. Optionally, you can add the RVWebResourceDataSource object to the data source collection of the callback to display it in the RevealView's Data Source Dialog.
revealView.onDataSourcesRequested = (callback) => {
    const webDS = new RVWebResourceDataSource();
    webDS.title = "Web Data Source";
    webDS.subtitle = "Web Data Source Subtitle";
    webDS.url = "https://raw.githubusercontent.com/fivethirtyeight/data/master/airline-safety/airline-safety.csv";
    webDS.useAnonymousAuthentication = true;

    callback(new RevealDataSources([webDS], [], false));
};
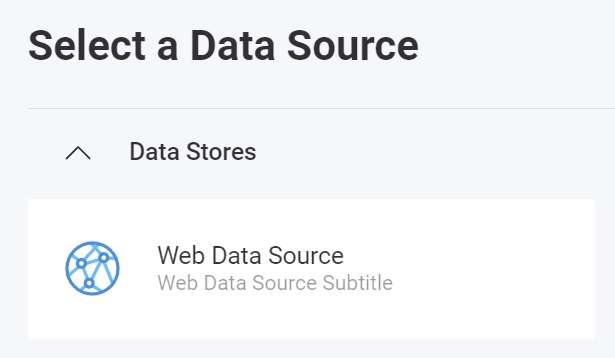
When the application runs, create a new Visualization and you will see the newly created Web Resource data source listed in the "Select a Data Source" dialog.
Step 3 - To bypass the Set up your CSV screen of the data source dialog and use the CSV data directly, create a new instance of the RVWebResourceDataSourceItem, and pass the RVWebResourceDataSource object created in the previous step as a constructor argument. Next, create a new instance of the RVCsvDataSourceItem and pass the RVWebResourceDataSourceItem as the contructor argument. Set the Title, Subtitle, and any other properties that are needed. After you have created the RVCsvDataSourceItem object, add it to the data source items collection.
revealView.onDataSourcesRequested = (callback) => {
    const webDS = new RVWebResourceDataSource();
    webDS.title = "Web Data Source";
    webDS.subtitle = "Web Data Source Subtitle";
    webDS.url = "https://raw.githubusercontent.com/fivethirtyeight/data/master/airline-safety/airline-safety.csv";
    webDS.useAnonymousAuthentication = true;

    //to skip the "Set up your CSV" dialog and directly use the CSV data
    const webDSI = new RVWebResourceDataSourceItem(webDS);
    const csvDSI = new RVCsvDataSourceItem(webDSI);
    csvDSI.title = "CSV Data";
    csvDSI.subtitle = "CSV Data Subtitle";

    callback(new RevealDataSources([webDS], [csvDSI], false));
};
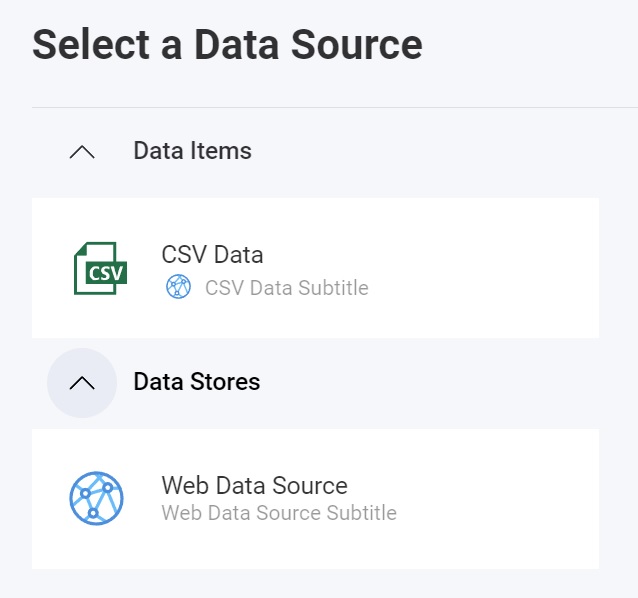
When the application runs, create a new Visualization and you will see the newly created CSV data source item listed in the "Select a Data Source" dialog.
The source code to this sample can be found on GitHub