Getting Started with Reveal SDK for Angular
Step 1 - Create the Angular App
1 - Open your favorite terminal
2 - Create a new Angular application using the Angular CLI
ng new getting-started
3 - Change directories into the newly created app directory and open the project in your favorite Editor. In this example, we are using Visual Studio Code.
cd getting-started
code .
Step 2 - Add Reveal JavaScript API
1 - Open and modify the index.html file to include the infragistics.reveal.js script at the bottom of the page just before the closing </body> tag.
<script src="https://dl.revealbi.io/reveal/libs/1.8.4/infragistics.reveal.js"></script>
2 - Install the remaining Reveal JavaScript API dependencies:
- Jquery 2.2 or greater
<script src="https://cdn.jsdelivr.net/npm/jquery@3.6.0/dist/jquery.min.js"></script>
- Day.js 1.8.15 or greater
<script src="https://unpkg.com/dayjs@1.8.21/dayjs.min.js"></script>
The final index.html files should look similar to this:
<!doctype html>
<html lang="en">
<head>
  <meta charset="utf-8">
  <title>GettingStarted</title>
  <base href="/">
  <meta name="viewport" content="width=device-width, initial-scale=1">
  <link rel="icon" type="image/x-icon" href="favicon.ico">
</head>
<body>
  <app-root></app-root>

  <script src="https://cdn.jsdelivr.net/npm/jquery@3.6.0/dist/jquery.min.js"></script>
  <script src="https://unpkg.com/dayjs@1.8.21/dayjs.min.js"></script>
  <script src="https://dl.revealbi.io/reveal/libs/1.8.4/infragistics.reveal.js"></script>
</body>
</html>
Step 3 - Initialize the Reveal view
1 - Open and modify the src/app/app.component.html file. Delete all the contents of the file and add a new <div> tag and set the reference to revealView.
<div #revealView style="height: 100vh; width: 100%; position:relative;"></div>
2 - Open and modify the src/app/app.component.ts file. First, we need to make sure that we can use jQuery by declaring a new variable named $, of type any, at the top of the file just under the import statements. This will make sure TypeScript will compile our JavaScript.
declare let $: any;
Next, we need access to the revalView that we defined in HTML as a ViewChild. Add a property to hold this reference.
export class AppComponent {

  @ViewChild('revealView') el!: ElementRef;

}
Now, we need to implement the AfterViewInit interface on our component.
export class AppComponent implements AfterViewInit {

  @ViewChild('revealView') el!: ElementRef;

  ngAfterViewInit(): void {

  }

}
Once that is complete, we can now initialize the RevealView.
export class AppComponent implements AfterViewInit {

  @ViewChild('revealView') el!: ElementRef;

  ngAfterViewInit(): void {
    var revealView = new $.ig.RevealView(this.el.nativeElement);
  }

}
Next, we instantiate a new instance of the RevealView by creating a new $.ig.RevealView and passing in the revealView element that has been stored in the ViewChild property.
The final app.component.ts file should look like this:
import { AfterViewInit, Component, ElementRef, ViewChild } from '@angular/core';

declare let $: any;

@Component({
  selector: 'app-root',
  templateUrl: './app.component.html',
  styleUrls: ['./app.component.scss']
})
export class AppComponent implements AfterViewInit {

  @ViewChild('revealView') el!: ElementRef;

  ngAfterViewInit(): void {
    var revealView = new $.ig.RevealView(this.el.nativeElement);
  }

}
Clients apps must set the $.ig.RevealSdkSettings.setBaseUrl("url-to-server"); to the server address hosting the dashboards if the client is being hosting on a different URL.
Step 4 - Run the Application
In the Visual Studio Code terminal, type the npm start command
- npm
- Yarn
- pnpm
- Bun
npm start
yarn start
pnpm start
bun start
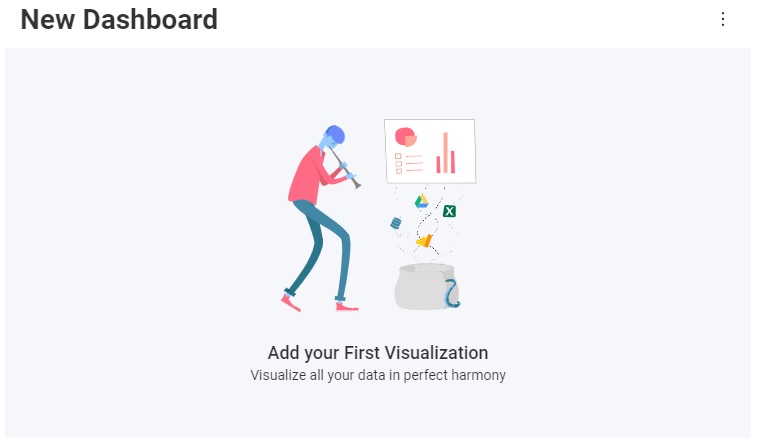
Congratulations! You have written your first Reveal SDK Angular application.
The source code to this sample can be found on GitHub.